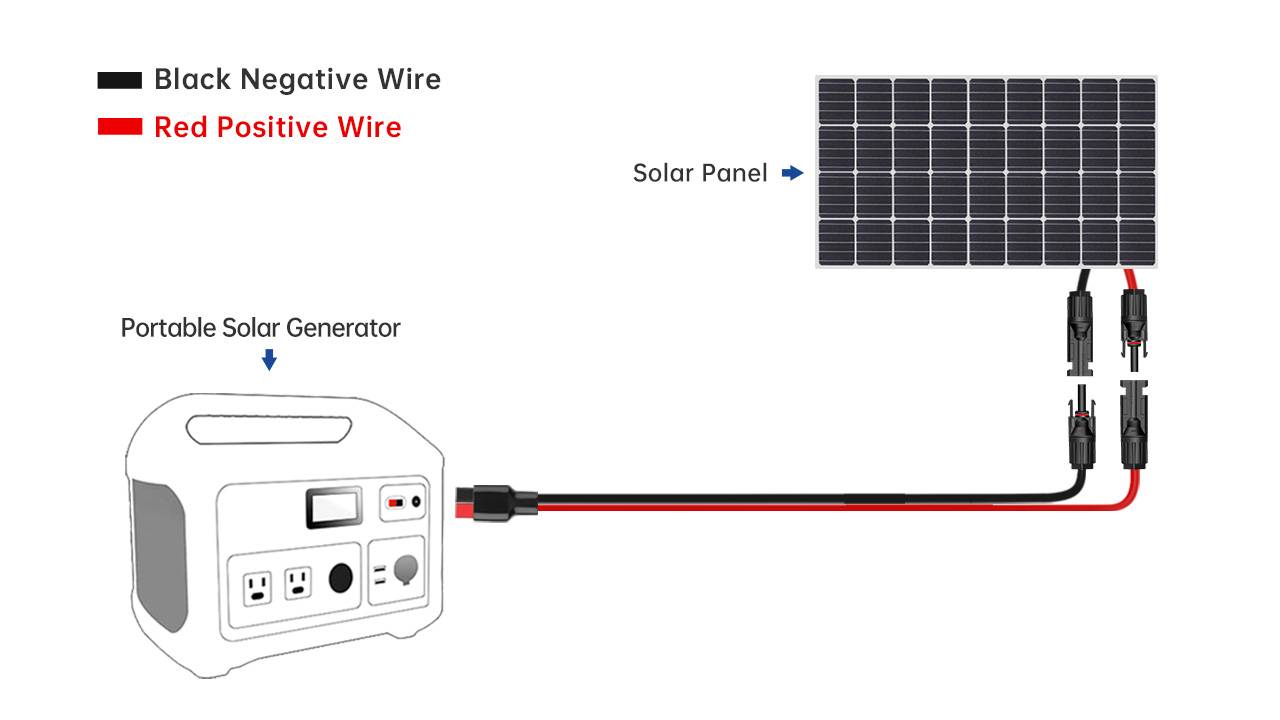
 Solar panels are a widely used renewable energy technology, employed in various applications ranging from residential PV systems to commercial and industrial purposes. Assembling solar panel cable connectors is a crucial step in the installation of a solar energy system. This article will outline the steps for properly assembling solar panel cable connectors to ensure the efficient operation and reliability of the system.
Step 1: Preparation
Before starting the assembly, make sure you have purchased the correct type and specifications of solar panel cable connectors. You may need tools such as a screwdriver, wire stripper, crimping tool, etc.
Step 2: Strip the Cable Insulation
Firstly, use a wire stripper to carefully remove the outer insulation of the cable, exposing the inner wires. Ensure not to damage the wires and be mindful not to strip too much, as it may affect the quality of the connection.
Step 3: Prepare the Wires
Check the wires for any signs of wear or damage. If any wire is worn or damaged, replace it promptly. With the wire quality ensured, prepare the wires, making sure they are of appropriate length for easy connection.
Step 4: Connect the Anode and Cathode
Based on the connector design, there is typically an anode (positive) and a cathode (negative). Connect the anode wire to the anode port and the cathode wire to the cathode port. Ensure a secure and tight connection.
Step 5: Use a Crimping Tool
Use a professional crimping tool to crimp the connection points on the connector to the wires. Ensure an even crimp to guarantee stable and safe current transmission.
Step 6: Insulate the Connection
After completing the connections, use insulation tape or heat shrink tubing to insulate the connection points. This step is crucial for protecting the solar cables from damage in adverse weather conditions.
Step 7: Conduct Testing
After the connections are made, conduct necessary current tests to ensure the quality and stability of the connectors. This can be done using a multimeter or other suitable testing equipment.
Step 8: Regular Inspection
After installation, regularly inspect the status of the connectors. Especially in adverse weather conditions such as storms or heavy snow, ensure that the connectors have not been damaged or become loose.
By following the above steps for correctly assembling solar panel cable connectors, you can ensure the efficient operation and long-term reliability of your solar energy system. Exercise caution and follow the specific guidelines and safety protocols provided by the manufacturer during the assembly process to ensure a smooth completion of the work.


